Ever come across a t-shirt like this?
Pretty colours, no stains or damage but grown short and wide in the wash. Too good to throw away, but no good to wear either.
(This one was a size 20-22 from Tu, but I guess smaller ones would work too. I rescued it from the rag bag at the Charity shop.)

Here's something easy, and quick to do with it.
Use a water-soluble pen to draw a scoop that comes right up to the neckline.
Then draw a slightly curved diagonal from the end of the scoop to roughly halfway down the armhole and a line tapering outfrom that point down to the t-shirt hem. Don't undo the hem - you're going to use it as the hem again. I always hated hemming, so any chance of not having to do one and I'm there!

Cut out.
You'll have created a shape that when folded in half looks like this.

Pin the side seams, then, using a suitable stitch on your machine and a ballpoint needle, sew them up. I started at the hem end, to ensure a perfect match - if you start at the top, one layer might just stretch a bit more than the other, and your hem will have a step in it. And nobody wants to have to undo a triple-stitched seam (that's my 'jersey' stitch)!

Trim the seam. If I wasn't in such a tearing hurry to get this done so I could so a sewing post, I'd have finished the seam with overlocking or some such thing.

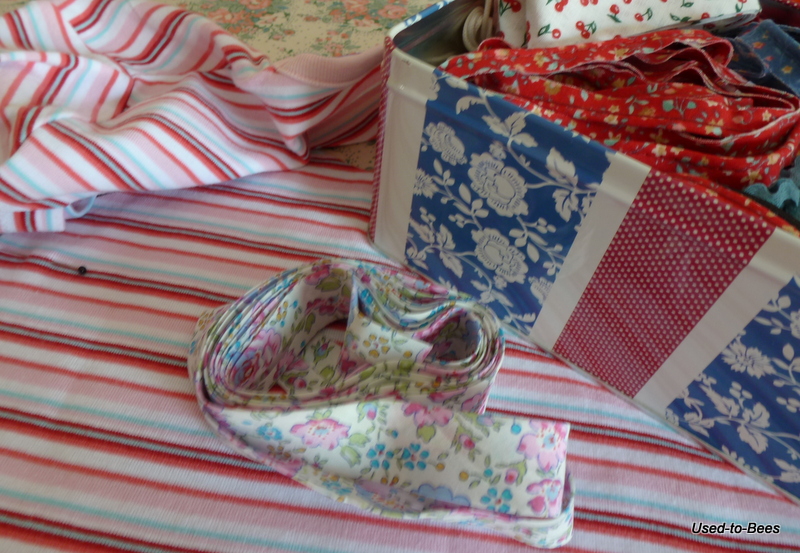
Find some bias binding. This Liberty 'Felicite' one has very similar colours and I do like to squeeze in a bit of Liberty love if I can. You need enough to bind the armhole edges
Open out one side of the bias and stitch it, right sides together to the armhole edge. I don't pin when I do this as it is easy to just 'feed' the bias and stitch in the ditch of the fold.

Trim the seam slightly then press the bias up, away from the garment. Fold the bias over the seam allowance and press. I prefer to fold very slightly more to the back so I know that when I stitch the bias from the front I will definitely have caught the back in properly.

Top stitch the bias from the front, thereby catching in the folded over portion. If you are worried, a bit of tacking is worthwhile here.

Now create a channel at the top of the front and back sections by ironing a double fold and top-stitching. I tacked this. Tacking stitches are rarer than hen's teeth in my sewing - this is a remarkable shot! The channel needs to be wide enough to take some elastic.

Thread a length of elastic through the channel. I used a bit of guess work here to judge how long it should be - mine was about 15cm long, to create a gently gathered scoop. Ideally, the planned wearer would have been in attendance and I could have checked it was right, but this wasn't the case, so estimation was the name of the game.
From the leftover bits of t-shirt, cut 6 folded-over strips. Mine were about 3 cm wide, folded in half. I took mine from the sleeves, and made them as long as possible. I used the folded bit from the sleeve hems and then two more from each sleeve.
You need them to stretch lengthwise, so I couldn't have cut them from the leftover bits cut from the armpit to hem.
You need them to stretch lengthwise, so I couldn't have cut them from the leftover bits cut from the armpit to hem.

Plait your strips to make shoulder straps. Don't plait too tight! Attach, ideally with the recipient in place to ensure a good fit!
Ta-dah!

Buttons are a nice finishing touch...

But which bag?


And this is all that's left of the t-shirt. Acceptable wastage I think!

Brilliant and I love the white bag and those purses you made earlier. Very inspiring. Eco Ethel xx
ReplyDeleteI smiled when I saw this post as I so knew what you were going to make !
ReplyDeleteBut I didn't realise how pretty it would be with the plaiting & dash of Liberty print !
It looks great! two of my pet hates with sewing, jersey fabric and binding, you make it look so easy too!
ReplyDeleteI would choose the first bag with the plaited handles.
Josie x
Oh and I choose the second bag light & pretty.
ReplyDeleteWow it's gorgeous what a wonderful idea and just in time for all this lovely sunshine ~ Sarah x
ReplyDeleteGorgeous and inspired ... you should do a book! M x
ReplyDeleteYou really are fab! :) x
ReplyDeleteme again ! Thank you so much for the book ( I seem to have lost your email )
ReplyDeleteI'm looking forward to reading it.
Lovely that you share your books x
What a fantastic idea. Will keep this in mind.
ReplyDeleteGreat idea and a perfect make do and mend project. Since summer has arrived, this beach cover up is just in time too.
ReplyDeleteHugs from Holland ~
Heidi